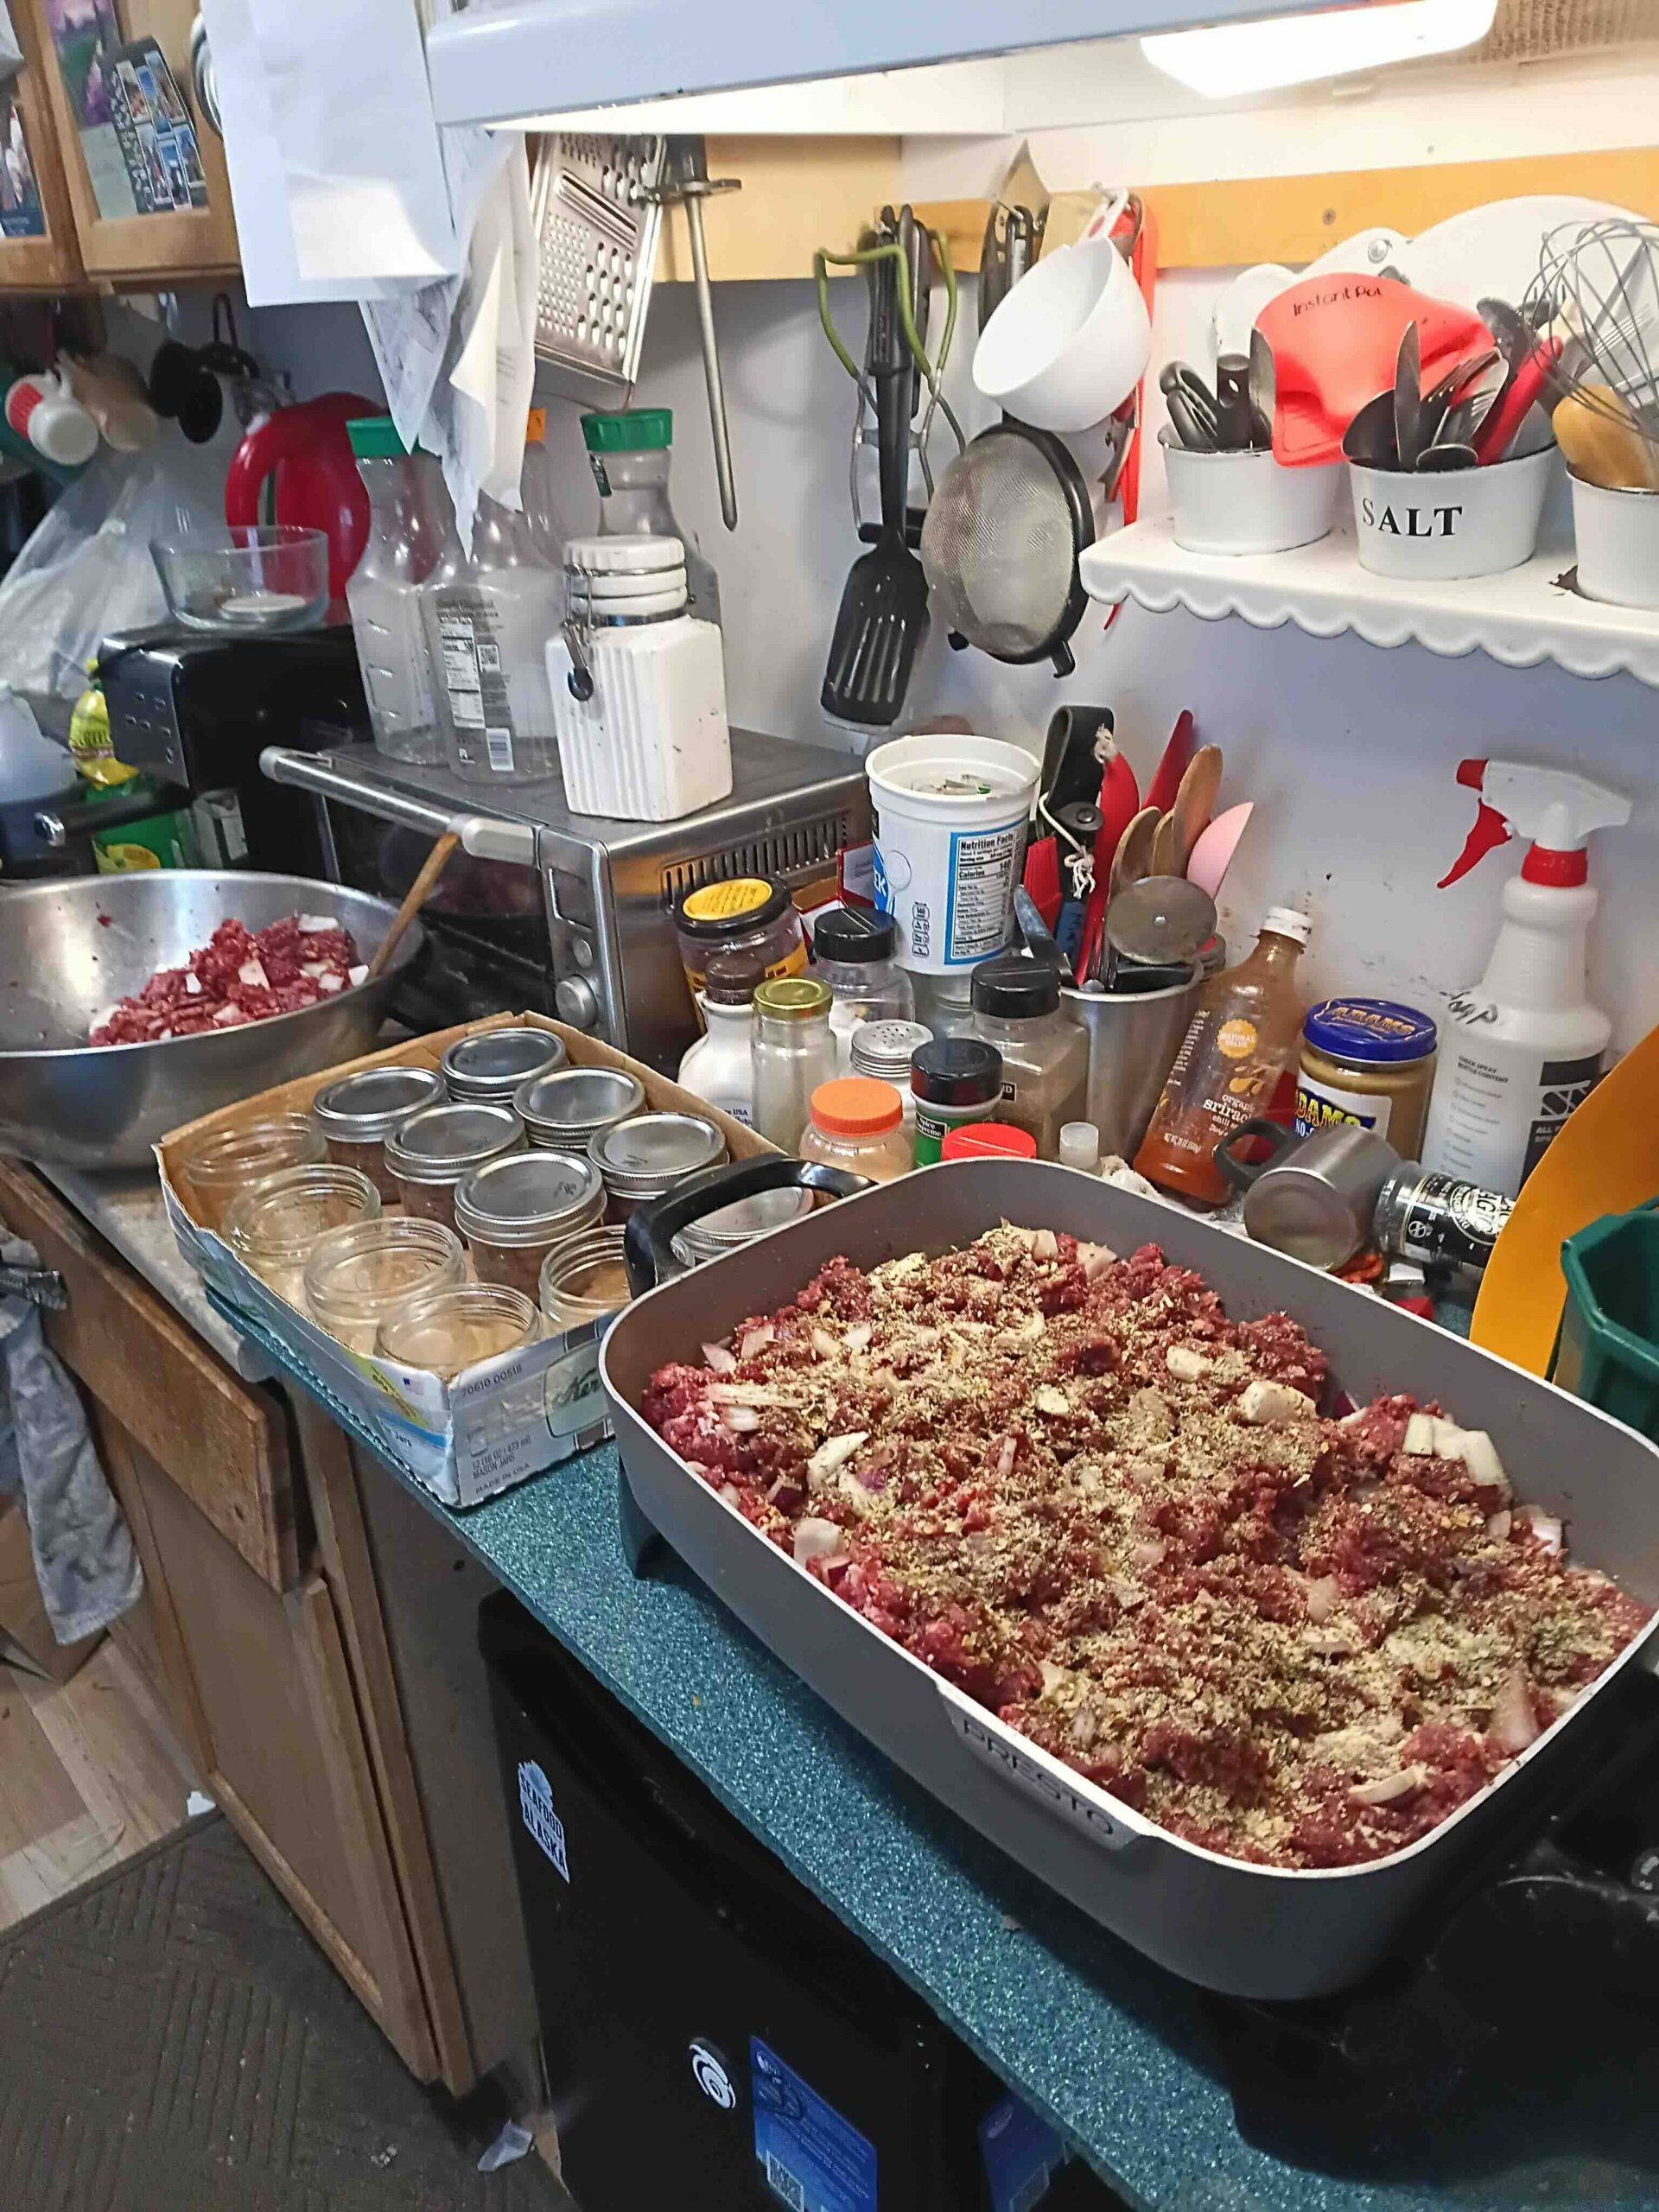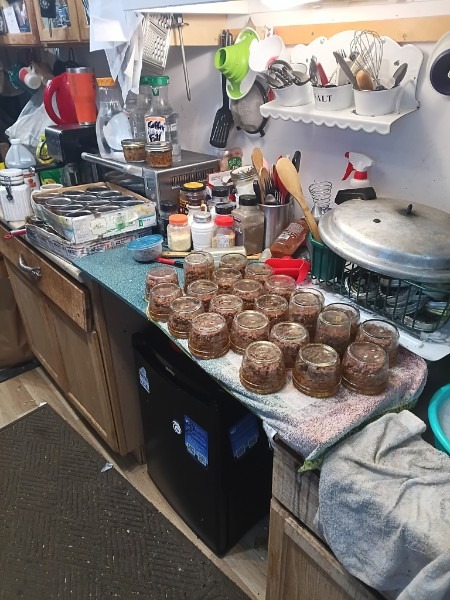
The weather looked like more crap for the next several days, so after I got back from hunting yesterday, I got out the deer pieces I saved to make burger from the deer I got in October. After rest and a little food, I started grinding the meat. I have a little Oster 4726 grinder I must have garage saled here. It’s tiny, really, and I only have a pasta plate for it. But it works for making burger for canning.
You want the meat that you put through the grinder just barely thawed, i.e., nearly frozen. I thawed the vac packed bags of meat in a bowl of warm water, then cut the mass of frozen meat into chunks that would go into the throat of the grinder. If the next package of meat was still too frozen to cut, I put it in the microwave for a minute to thaw a little more.
It took about an hour to grind it all. When I finished grinding, I put the meat in a cooler bag with ice bottles to keep it cold til today, when I’d do the canning.
This morning, I measured the meat, which came out to about six, 48 oz Costco yogurt containers of burger. I bought two large red onions and two extra large sweet onions, and chopped them to go with the burger. The chopped onions made about 3 yogurt containers worth, which seemed a little bit too much for this much burger, so I mixed two of the containers of onions with the burger, and the rest I put in the fridge for pickling.
I started browning batches of burger and onion in the big ass electric frying pan. To each batch, I added various spices that have set in the cupboards here for who knows how long. I added “Italian spices”, garlic powder, and “roast salt and chili powder” to each batch, just eyeballing the amounts, sprinkling each spice to uniformly cover each batch of burger at the start of the browning process.
You don’t have to brown the meat. If you brown the meat, it will be brown in color when you use it. If you don’t, the meat will be red like canned dog food. I like using burger and browning it first. If you use meat chunks instead of burger, the chunks seem to lose about 25 percent of their volume in the jar after canning due to it settling when it’s cooked, I guess. The burger packs tight, and you don’t lose any volume. Browning also helps in this regard, as it will release any water in the meat before you pack it in the jars. In addition, browning helps to sweat the onions, so they don’t lose of volume in the jars after canning, either.
As I do each time I can, I reviewed the instructions from the University of Alaska, Fairbanks Cooperative Extension site, and read that if I am canning burger, I am supposed to add liquid. I can’t recall that I knew that or did that in the past. Could be it’s an updated recommendation, which does happen fairly often. So, I put the tea kettle on to boil.
I packed each batch of burger into jars after it finished in the pan. I put a canning funnel in each jar, used a 1 cup measuring cup for measure, and loaded each jar with meat. I pressed the meat in tight to each jar, up to the bottom of the ring threads on the jar. Then I added water up the same spot. I then took out or added meat as needed to maintain head space, wiped the rim of each jar clean with a paper towel, and put on the canning lid and ring.
When I finished with all the batches of meat and had them all in jars, I got the canner down from the shelf, put in about 4 inches of water, and started loading the jars. I can fit seven wide mouth jars in each layer of my canner. It holds 4 layers of wide mouth jars, so 28 total.
I put the first batch on the big propane “crab cooker” double burner stove in the shed. These really cut down on canning time, as they can quickly bring the canner up to temperature. Much faster than a kitchen stove. It’s not long before there’s a steady stream of steam coming out the canner vent, and I start the timer for 10 minutes. At 10 minutes, I put the weight gauge on the 10 lbs pressure hole over the vent. When the gauge starts rattling, I start the timer for 75 minutes.
When the time was getting near for the first batch to be done, I filled the electric frying pan with water, loaded the jars for the next batch to be canned, and put the heat in the pan to about 200 degrees Fahrenheit. I’ve had problems in the past with putting room temperature jars into a hot canner, and some of the jars break after canning. I’ve read this is due to the temperature difference, so I tried to get these jars warmed up before I put them in the canner, which will have hot liquid from the last batch, tempered by tap water added to replace the water that steamed off in the pressure cooking process.
At 75 minutes, I turned off the stove and let the canner cool down. When it cooled enough to allow me to open the lid, I removed the jars with an insulated set of boat gloves. Eight jars didn’t seal. So, I replaced the lids on those jars and put them in with the next batch. I’ve bought up lots of some “Chinese” off brand (i.e., not Kerr or Ball brand) canning lids that indicate they meet USDA (or whatever) standards, which I’ve read online are okay for canning. Many canners, however, quit using them for one reason or another, and so I’ve got some great deals on them when the stores ran sales to get rid of them. I also had some Ball brand lids on jars in this first batch. All eight of the no-seals were the off-brand lids, so maybe there is something to the concerns. Water bath canning redos aren’t that big a deal when the processing time is only 10 to 20 minutes. Redos for meat (75 minutes) and fish (110 minutes) however, are a lot more costly in time (and propane).
I loaded the redo jars and the remaining jars I’d warmed up into the canner, and repeated the process of venting the canner, then pressure cooking the jars for the prescribed time. The second batch had only 2 no-seals, along with a broken jar right in the middle of the bottom layer. This was acceptable for me, as I’ll put the meat in the fridge for use now.
That refills all four cases of wide mouth half pints I have here, plus a few regular mouth half pints. This should last us here til next November.
Some people ask why I can so much deer burger, rather than freezing it. The answer is because it’s so convenient and needs no refrigeration til it’s opened. I can leave it on the boat or in the cabin on the shelf without worry about keeping a freezer or fridge running. Now that all the work is done processing it, I can open a jar, put it on the stove on the boat or the cabin, heat it with mushrooms and peppers and cheese or whatever, and put it over a large bed of greens or in a burrito with greens and condiments. Just easy. And excellent fare every time.