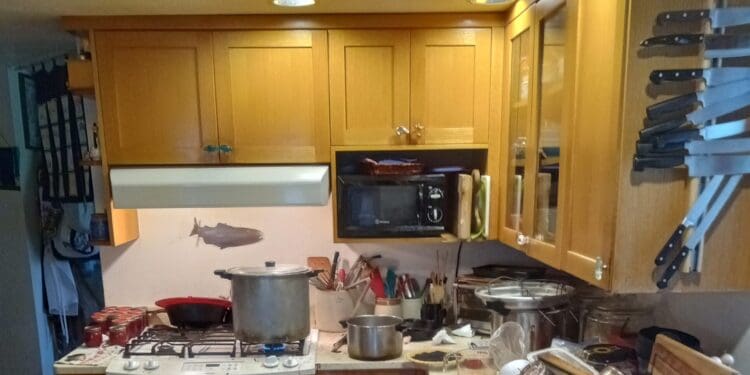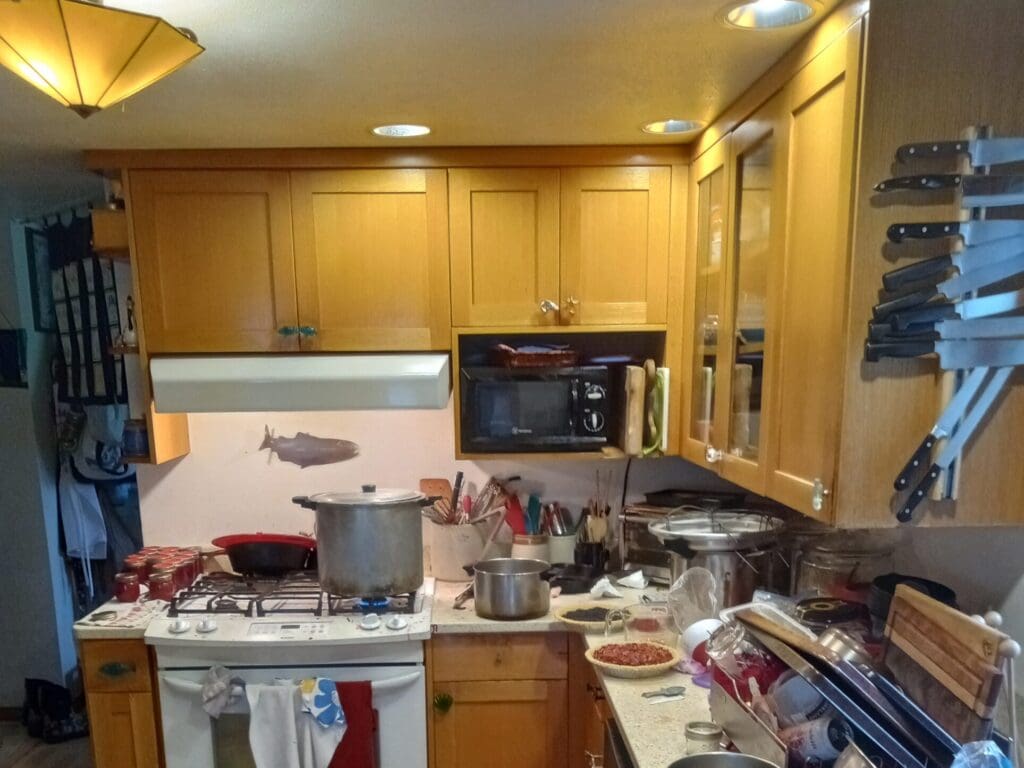
Arrival day – got to our flat in Porto. It’s a block or two up from the Duoro River. Really cool place. There’s a non-descript (to me, anyway) door on this line of shops at street level. You enter the door code to get into the building. Then a staircase and a little elevator that goes up 5 floors. When we got to the 4th floor, our room was the only one, right out of the elevator. We entered the door code and in we came to a cool apartment. One bedroom, one bath, a nice compact kitchen alongside a living room with a couch and TV. We had a very narrow veranda out the window doors looking down the hill and could see the river at the end of the narrow street. I think the verandas are made for people to smoke on, as not really wide enough to even put a chair out there, but maybe. The place reminds of one of my favorite shows,Doc Marten, on PBS.
Day 1. Walked across the river to the Port district. Had tapas for lunch there. Walked back. I think about 2.8 miles total walk.
Day 2. Went to Afruada fishing village. Had great dorado and robalo fish, grilled over charcoal. These are either different species, or much smaller ages than dorado and robalo in the Pacific. Nice museum there of the history of the place. The town was a bunch of apartment buildings that were about 3 stories. Women of the village still wear a type of apron as a sort of everyday uniform while walking around their town. We walked from there back to Port district. About 3.5 miles. Then took an uber home.
Day 3. Walked up to the market in the middle of town. Had the 8 canned seafood sampler on crackers. Great idea for a Juneau business. We put in almost 7 miles today walking! Didn’t seem like it. And maybe wasn’t. Not sure if the GPS tracker works exactly right for measuring distance.
Day 4. Walked up to our new hotel, where we met another state senators and his spouse. Sara and the wife went walking around while I yakked with the senator until our rooms were ready for occupation. Eventually the third member of the state delegation – another senator – and his wife arrived. When Sara returned, our room was ready and we napped til dinner. Dinner was at a high end place a couple blocks from the hotel. I had a Portuguese dish called a francesinha, which is sort of a sandwich of cured meats encased in cheese with a weak tomato sauce and an egg on top. Very disappointing. I didn’t finish half of it, which never happens with me. The appetizers of octopus salad and a sort of shrimp cake were good, so not like I went away hungry. I think I was expecting the francesinha to be more savory or sweet or spicy or something, but it was very bland. Even the cheese was bland. I was going to order my old standby of fried cod, but thought I better try the local dish.
Day 5. Toured a family owned fish processor Soguima in Guimaraes, Portugal. They do lots of products with salt cod and octopus, and also do some products with Alaska pollock and other species. After the tour, they fed us a pile of different dishes with their products. They have a chef on staff that works in a food laboratory as far as I could tell. Then an hour and a half ride to the sea again to Vigo. Only saw one bird at the fish plant, and just chickens near houses otherwise, along the way. Not sure why, as there’s lots of trees and vegetation? Just another pleasant day here.
Interesting hearing the marketing staff talk about the current poor market conditions for Alaska salmon from the “glut” of wild salmon on the market, and issues with Russia salmon and China processing. When I mentioned that much of our fish went to China for processing, I was told it was just pink and chum salmon because those two species didn’t command a price on the market to justify paying for processing in Alaska. It made me realize we are still marketing what we catch, instead of catching for the market. Pink salmon, in particular, can garner good retail prices if it’s handled to achieve high quality, instead of high quantity. We proved that when we were selling pink fillets, and Yakobi Fisheries is proving it again now with their high quality pink salmon fillet sales. The fishing mentality of catching as many fish as possible at some baseline acceptable quality standard for which the fish can be made into some low value product works some years and others it doesn’t, based on catches by similar methods of the same species in other parts of the Pacific and other market forces. If fishermen caught the fish to meet a quality standard that would garner a higher price point, they could earn more money on fewer fish, but that will never happen. It’s just not in most fishermen’s wheelhouse to do more than catch. And it’s why the market – especially the US domestic market – is wide open for fishermen and processors that do want to produce high quality pink salmon fillets and direct market them to niche markets.
Day 6. Attended the big seafood show CONXEMAR in Vigo, Spain. I felt a little under dressed in my brand new green coveralls with green Carhart shirt until a sophisticated woman I’d guess was in her early 60’s – apparently well known in the cod seafood market and dressed to the nines like she could be attending the academy awards – stopped in to the ASMI booth. An ASMI rep introduced us, and she commented on how great my “look” was. That made my whole day. I learned a lot at the show, seeing all the products represented, and listening to the ASMI executives talk to other seafood representatives about issues in the salmon market, in particular, about things I’d never think about, such as increased bank interest rates.
Late in the afternoon we visited a surimi plant, Pescanova, in town. Great tour. The plant produces crab stick, baby eels, and a breaded “crab claw” from surimi, and sells most of it’s product solely in Spain. They use surimi made from Alaska pollock for much of their production. We sampled some surimi “noodles” that were like fettuchini noodles, along with some “baby eel” and both were very good. Later in the week, though, Sara ordered an octopus dish that both of us agreed was not octopus, but surimi, and it was very average.
Day 7. Toured a shellfish farm and processor in Galacia owned by four generations of a family, Jose Mª Daporta Leiro e Hijos S.L. in Cambados, Spain. They do their oyster culture by gluing 3 oysters on spot on ropes, and unlike anything I’ve seen anywhere in Alaska. Interesting. Then we had a 12 course meal at a restaurant run by the oyster plant family relatives. Fantastic shellfish, fish, and one chicken dish. Global warming is slowing killing the oysters on the farms, and causing the farmers to move more towards mussels. Higher ocean temperatures combined with increased rains causing a higher influx of freshwater to the inlet are a one-two punch in killing the oysters.
Day 8. Had a multi-course dinner again today after touring Santiago. Just as we were to sit down, Tom and Sarah Morgan stuck their head in the window! I’d given up hope we’d actually find each other in Santiago, but there we were. They came in and ate with us. The dinner included oysters, shrimp, mussels, roast octopus, fish, gooseneck barnacles, and tuna. I may have forgotten one or two others.
Day 9. Headed from Vigo back to Porto. Stopped at Gimares for a tour with Manuel from the company that starts with S that we toured earlier in the week. Another huge lunch with so many different plates of seafood. His sister Zita joined us. She is 7 years younger than her brother, and we had an interesting conversation about her time spent in Mozambique working for the company business there. They raise crocodiles and cattle. The leather of the crocs is shipped to Europe and the meat is sold locally. We never got to talking about the cattle.
Rest of trip: Took train to Lisbon for a few days. Lots of spectacular sculptures and old buildings at this very strategic location. Not my thing really, but very impressive in person, I must say. Took train back to Porto and stayed at the city centre Holiday Inn overnight. Very nice staff, but hotel rooms somewhat noisy through the walls from doors closing, etc. Another major first world problem to fix.
The hotel is located on a cool pedestrian strip with restaurants and a little shopping mall with a nice grocery store. We had dinner at the first restaurant we came to a block away because the smell coming from it was so good. I had pork ribs and Sara pork tenderloins. Bock stout is a very good beer.
We spent the night at the Heathrow airport hotel. Most comfortable bed of the trip. Had I not been with Sara, I’d have slept in the airport and had a miserable overnight like I always do.
So, lasting impressions of Portugal and Spain were lots of tatoos, mostly on the younger folks. Cigarette smoking is still a thing over all ages. The “Mediterranean Diet”, if that’s what it is, of cured meats and cheese and seafood and olives and olive oil and fruits and wine seems to work. As I observed in my only other trip to Europe (to Iceland), I noticed a lot less obesity here than in the US (or my household………).
I did the physical therapy exercises faithfully each day for my hip bursitis. I might go to bed with a sore hip in the evening, but each morning I would wake up and have it a little better than the day before. Almost a new lease on life, as they say. I was getting pretty scared it would never get back to good for hunting and firewood cutting and other labors of love.
My Keen boots finally gave up the ghost. My right foot started hurting a few days into the trip. I couldn’t figure out why. I’d hiked miles and miles in these boots, and so that didn’t strike me as the problem at first. Seemed like the foot neuroma was coming back, and I remembered that it was caused by a cramped toe box on my cross country ski boots. The only other foot ware I had with me were my Crocs. I switched to wearing them full time and determined my boots WERE the problem. So, many miles in Crocs and black socks later, the neuroma turned around. I left the boots on the step of the hotel at the Lisbon train station in case someone with size 16s and narrower feet needed a fresh pair of wheels, as the boots were still in decent shape. With all the miles we walked on the trip – and alot of it uphill – I’m itching to get down to Craig for deer hunting and salal berry picking.
We’ll also remember the Hamas attacks in Israel and know that, like Afghanistan and Iraq, this is not going to end well. There can be no military solution there. It would have happened already if there were.
Traveling back from these trips, I reflect with gratitude how lucky I am to get to do them. I don’t feel like I’ve “earned it” or “deserve it”. Most people will never get to do these things, simply because they were born in a less prosperous country or different life or health or family situation here in the states. We’re also luckier than so many of our friends, who because of genetics or their environment or being in the wrong place at the wrong time, or just plain fate, didn’t live to older age and retirement and have the time they always looked forward to to do these things.
